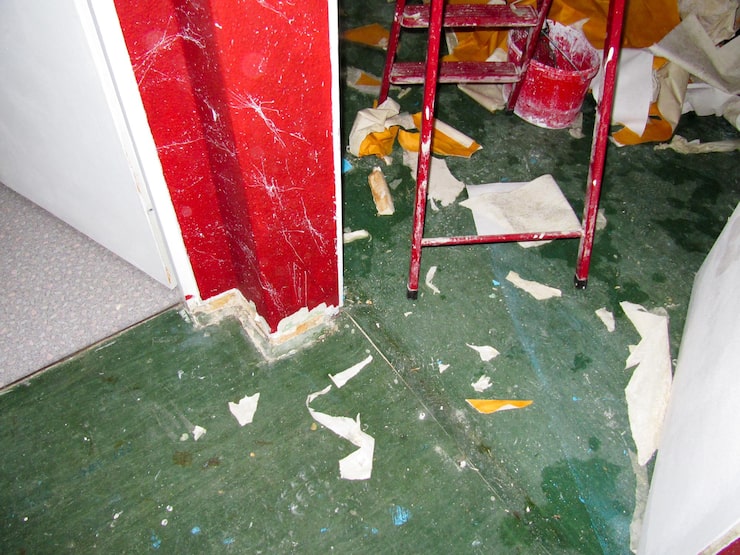
Painting can be exciting—until the walls start unravelling or looking like a toddler finger-paints them.
Mistakes are common, often committed by DIY enthusiasts who are sometimes over their heads. Painting is not as simple as it seems. Whether colouring your walls or putting patterns on trims, slip-ups can happen.
Lucky for you, these colouring flaws can be prevented. Yes, you can do something to avoid the costly mistakes that’ll weigh on your time, money and energy.
This article uncovers the secret to avoiding the most common painting mistakes to achieve a quality finish.
Not Preparing the Surface Properly
Whatever you do, don’t ignore the surface preparation.
Prep work is paramount to the success of your house painting project. However, in your haste, you forget entirely about the dust, dents and greasy spots.
A dirty surface is not conducive to painting. Paints need a clean and stable surface to stick to. Any contaminants can affect paint adhesion and ruin your paint finish. Thus, you can say that prep work is way more important than the paint itself.
Choosing the Wrong Paint or Finish
Many DIY painting problems can jeopardise your finish just by choosing the wrong paint.
Take a look at the following painting mistakes to avoid.
- Gloss on Ceilings
High-gloss paints have no business being on your ceiling. It’s not recommended because the sheen makes the imperfections stand out. Up there, it can reflect more light, highlighting the unflattering areas of the bad paint.
Matte finishes are more preferable on top. Since they don’t bounce light, they’re better at concealing the blemishes and irregularities.
- Using Interior Paint Outside
In no case should you use interior paint outside the house. They’re not designed to handle the nasty weather or pollutants outside, like UV rays or moisture. They will crack under environmental pressures, failing you maturely.
Can You Use Exterior Paint Inside
- Using “Cheap” Paint to Save Money (but needing four coats)
We always say that buying cheaper paint products saves you money. However, you will save much more in the long run with premium paints.
Budget paints are likely to streak and are unable to cover up imperfections. They also have poor pigment quality, which means they go on thinner and have poor coverage.
As a result, you will need more coats, at least 4, to get your desired finish.
Messy Edges and Bad Tape Jobs

Good Edgework Makes for a Quality Job
Professional paintings have sharp, clean edges. With sloppy brushwork, the painting job will easily look cheap and unprofessional—even with quality paint.
Good edgework enhances visual contrast and delivers more careful and precise work. To sum it up, sharp lines create polished results.
Painter’s Tape is Your Best Friend—If Used Properly
Your painter’s tape is a beacon in the complete mess of painting—if used properly. It keeps the line straight and protects surfaces when pressed down correctly and removed at the right moment.
Poor tape work encourages the paint to bleed under and stick firmly, tearing away chunks of dried paint when removed.
Touch on Trim and Ceiling Challenges
In your painting venture, some spots require more attention, like your trims and ceilings.
These tricky zones require special tools and techniques to navigate—ones that only professionals can deliver.
Overpainting or Underpainting
Too Much Paint
You’ll waste more paint if you cover your paintbrush or roller entirely with paint. It will run before it even cures. To avoid dripping, less paint is always better.
When there’s too much paint, it’ll take too long to dry. This creates a film on top while the underneath coat stays wet. So, don’t soak your paintbrush and use enough paint at every interval.
Too Little
Skimping on paint leaves patchy areas, where the colours look uneven and inconsistent. Thin coverage doesn’t provide full coverage, making the finish lifeless.
Over time, the paint will fail to protect your surface and might need frequent touch-ups. If you want a superb finish, approach painting with the 2-coat rule and a proper technique.
This is the standard system for the highest quality finish and increased strength.
Rushing the Dry Time
Painting mistakes happen when painters get impatient and start cutting corners. When painting, it’s paramount that you wait between coats before applying the next coat.
The surface may look dry, but underneath, the paint hasn’t fully cured.
It’s a total disaster to paint over wet surfaces.
Here’s a drying time guide for common paint types:
- Latex paint dries quickly in just 1 to 2 hours.
- Acrylic paint is another type of paint that cures quickly, needing just 2 hours for the second coat application.
- Oil-based paint is more challenging to deal with, taking at least 8 to 12 hours to dry.
Check out some tips to speed up drying time between coats:
Increase ventilation by opening the windows and the doors wide or using exhaust fans. This way, you can improve the airflow and get the fresh air inside the room.
These are a better approach than using heat, which can result in uneven drying and cracking.
When to Stop DIY and Call a Pro

DIY is a viable alternative if you have prior experience. If the painting project involves unfamiliar techniques and is beyond your skill level, it’s best to bring in professional help.
Redoing mistakes will cost you more than doing it right once. Sometimes, it’s smart to step back and avoid the costly repairs and replacements.
Let A One Korean Painting take care of it—perfectly, the first time.
Conclusion
Painting mistakes happen even to the best of us. However, every mistake is preventable with the proper prep and mindset.
Knowing the common painting mistakes will help you tackle your next painting project more efficiently. Whether you want to do it yourself or seek help from the pros, quality is the goal.
So, if you want a top-tier finish just like the pros, let’s talk. Give us a call, and we’ll be happy to offer you a free consultation.

