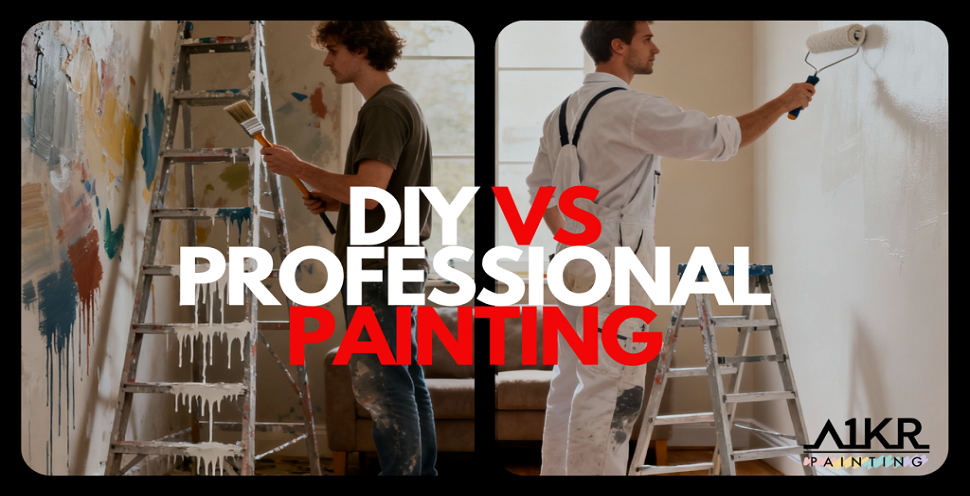
Whenever you’re tackling a home makeover, enlisting a professional makes your life easier. But if you can’t afford their services, a DIY house painting job is your best route. It is definitely challenging and labour-intensive. But it can feel rewarding once you pull it off, not to mention super budget-friendly. Then again, a whole-house paint job is more than simply slapping colours on your walls. It requires preparation and doing what the experts do. Check out the DIY painting mistakes you should avoid and get the inside tricks on how to paint your home like a pro.
DIY House Painting Mistakes to Avoid
Getting the best results means avoiding the following painting oversights.
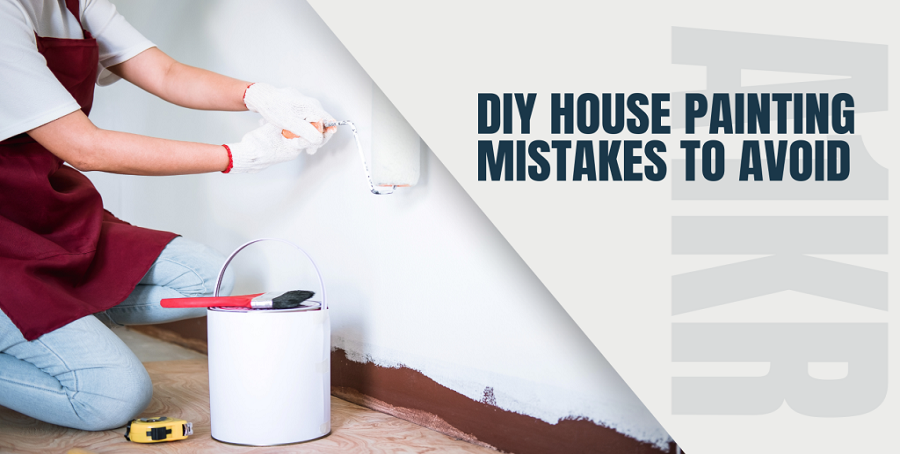
Skipping Surface Preparation
It might be a hassle in the beginning, but prep work saves you time and money. Not cleaning or repairing surfaces before painting leaves ripples and hair stuck on the walls. Remember, paint doesn’t bond to walls with dirty surfaces.
Using Low-Quality Paint
Want to get your desired painting results? Invest in quality paints. Tons of DIY enthusiasts make the common painting mistake of opting for cheaper, inferior paint that doesn’t last. The end result is subpar, with paints cracking and fading, requiring expensive touch-ups and repairs. High-quality paints are created with finer materials that penetrate deeper. They are durable, easy to apply and have better aesthetics.
Forgetting Primer
Skipping the primer can lead to poor paint adhesion and coverage. Why? The primer serves as a base for painting. It brings out the colour and gives the paint a decent surface to bond to. Therefore, it gives better protection and stronger adhesion.
Rushing Between Coats
Don’t haste with your house painting project, at least when recoating the paint. Not allowing enough drying time between coats leads to cracking, flaking and peeling. So, make sure you wait to apply your coats long enough for the paint to stick to the wall properly.
Ignoring Weather Conditions
If the temperature creeps a little lower, the paint becomes thicker, requiring thinners. Conversely, if the temperature is too high, the paint bakes faster, causing clumping. That said, before greenlighting your exterior DIY house painting, check the weather outside. Unsuitable weather conditions, such as high humidity or extreme temperatures, are your paint’s worst enemies. As such, if the humidity rises, consider waiting for a better day to paint.
Tips to Make Your DIY Paint Job Look More Professional
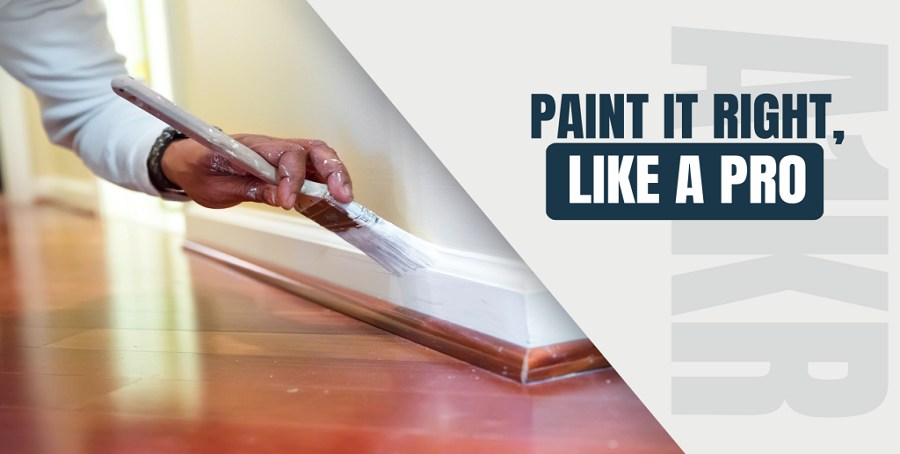
Even a beginner’s house painting work will start looking like it was professionally done with these DIY paint job tips.
Use High-Quality Brushes and Rollers
Invest in top-calibre tools. They’re made with finer materials that give a smoother finish. Plus, they’re designed to hold and carry more paint. This reduces splatters, so you’ll be saving money and finishing in less time with less effort.
Prepare Surfaces Thoroughly
Before you start painting, clean and sand surfaces thoroughly. Remove room accessories and wash your walls from the bottom up. Pay extra attention to the middle of your walls, where most stains reside.
Then, sand the surface. It eliminates imperfections and strengthens paint adhesion and coverage. Of course, the cleaning and sanding required depend on the kind of paint used and the condition of the surface.
Apply Primer Before Painting
The primer makes a huge difference in the overall look of your painting job. A proper coat of primer covers blemishes and ensures maximum adhesion. It reveals the paint’s bold colours and makes them last longer. It’s an essential preparatory step that can dictate the result of your painting project.
Choose the Right Type of Paint
The type of paint you choose adds attractiveness and durability to your home. Select the appropriate paint for the surface and the room to get the best results. When choosing, weigh in the space you’re painting and the colour richness. Resist the lure of cheap paints. Top-tier paints add more value to your painting project. They don’t just look fantastic but are also long-lasting. Extreme weather deteriorates the paint’s gloss and colour. But quality paints keep their vibrancy even when exposed to environmental factors.
Use a Consistent Painting Technique
Painting is not just about applying paint. So, make sure to polish your painting technique. To paint your home effectively, maintain steady strokes, applying the right pressure. You don’t want to press too hard or too light. This results in uneven texture, visible marks and inconsistent paint coverage. Moreover, be consistent with the amount of paint you use. It should be just enough to coat your paintbrush or roller. Then you apply it at a certain speed and fill it out.
Allow Adequate Drying Time Between Coats
You can’t rush this! Make time for each layer of paint to dry completely. Practice patience and let the paint of your first layer build, which isn’t possible when you keep adding more paint. The general rule is to wait about 3 to 6 hours to apply your next coat. If you apply too soon, your wall will suffer patches and uneven colouring. You want to achieve smoothness and boldness of colour and not a patchy finish.
Keep a ‘Wet Edge’ to Avoid Marks and Streaks
Always paint with a wet edge. This means making sure the paint in one section is not dry before you start painting the patch next to it. Keeping a wet edge is the solution to avoiding lap marks and producing a uniform appearance. The trick is to brush with enough quickness to the unpainted area and then back to the just-applied section, allowing the colours to smoothly flow and not overlap.
Conclusion
There’s nothing more rewarding than seeing your humble abode impress with a stylish refresh that you did all by yourself. If this blog post proves helpful in uncovering your skills to DIY your house painting, go for it! Roll up your sleeves and give your home a fresh coat of personality. But if you’re too busy and need professional help at a cost you can afford, we’re the right paint experts to call. Call A One Korean Painting today!

