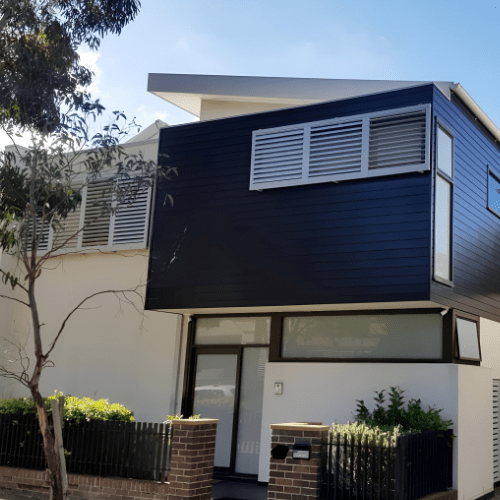
A lot of people think painting aluminium is either impossible or just too much hassle. Honestly, it’s not. If you prep it right, painting aluminium is pretty simple, and the results last. Here’s what you really need to know: how to clean and sand your surfaces, pick the right primer and paint, apply each coat like a pro, and steer clear of the usual mistakes. Over the past 15 years, painting homes all over Sydney, we’ve handled more aluminium windows, doors, outdoor spaces, and furniture than I can count, and they always come out looking sharp. The trick is getting familiar with aluminium itself. It’s got a smooth, non-porous surface and tends to oxidise, so you’ve got to treat it differently from other materials. Stick to these steps, pay attention, and you’ll get a finish that looks like the work of a professional, even if you’re just doing it yourself.
Why Aluminium Needs Special Preparation
Understanding Aluminium’s Surface
Aluminium starts to oxidise the moment it hits the air, building up a thin, invisible film that makes it tough for paint to grab on. Plus, the surface is so smooth and non-porous, there’s just nothing for the paint to really stick to, unlike wood or drywall, which are way more forgiving. That’s why proper preparation is especially important in larger projects like strata painting, where durability and long-term performance matter. You need to prep aluminium the right way by removing oxidation and roughing up the surface so the paint actually has something to hold onto. Painters talk about this all the time: once you understand how aluminium behaves, it’s clear you can’t skip the prep work. If you rush or cut corners, the paint just peels, chips, or ends up looking patchy after a few months. But if you take the time to clean, sand, and prime before painting, you avoid future headaches and ensure the finish lasts for the long haul.
Step 1: Clean Thoroughly
Start with a Clean Surface
If you want to paint aluminium, start by getting rid of every bit of dirt, grease, or oil. Grab some warm water and mix in a degreasing cleaner; mild detergent works, but you can use a commercial degreaser too. Wipe everything down with a cloth or a soft brush. Make sure you rinse it all off with clean water so there’s no soap left behind. Wait until the surface is totally dry, because any leftover moisture keeps the paint from sticking properly. Seriously, keeping the aluminium spotless is everything; it’s what makes the paint job work. Once it’s bone-dry, then you can start sanding.
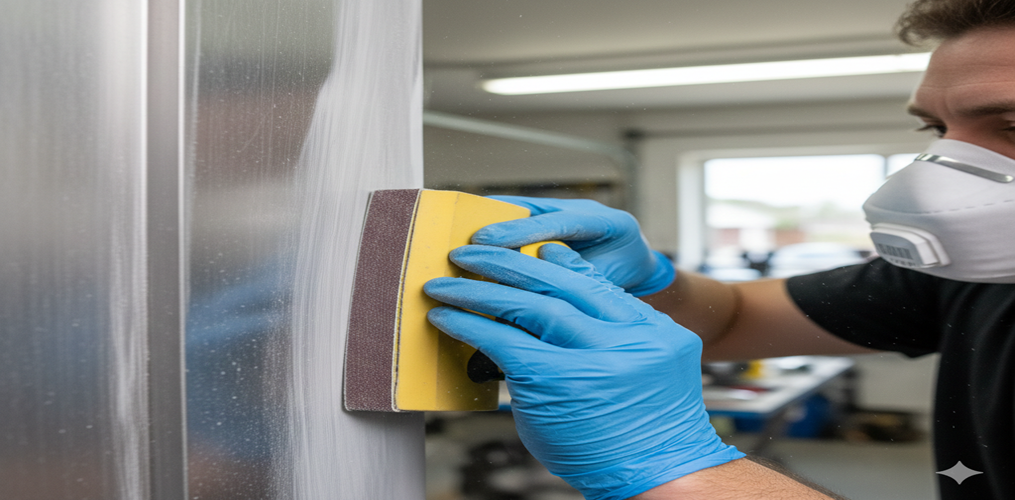
Step 2: Sand the Surface
Creating Texture for Adhesion
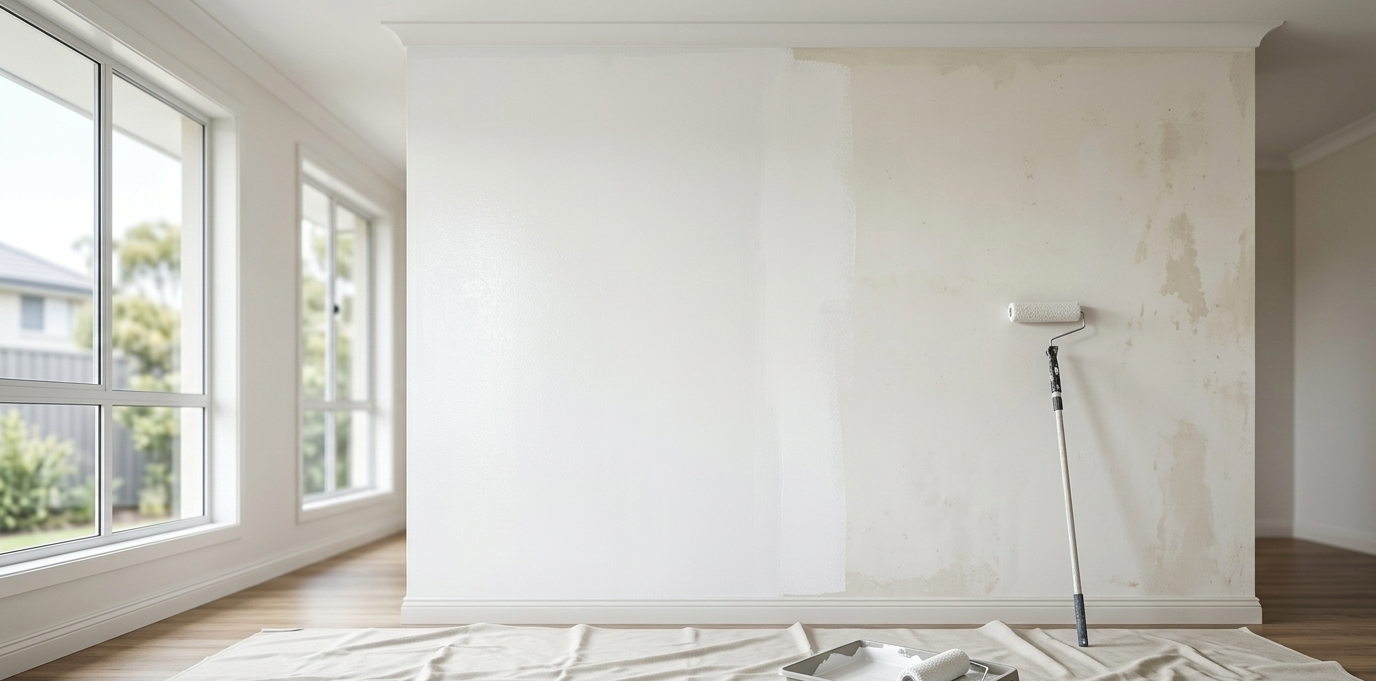
If you want paint to really stick to aluminium, you need some texture. Grab some coarse sandpaper: 60 or 80 grit is perfect, and sand off any old paint or oxidation. You don’t have to press too hard; just enough to roughen up the surface without carving into the metal. Hit every spot, even the edges and those annoying little crevices. And seriously, put on gloves and a respirator, aluminium dust isn’t something you want in your lungs. If you’re dealing with a big surface, a power sander saves time, but make sure you keep it under control and keep that mask on. Once you’re done with the coarse grit, switch to something finer, like 400 grit or higher, to smooth everything out. Wipe the whole thing down with a degreasing cleaner and let it dry before you even think about primer. Honestly, sanding is where you set yourself up for success. Take your time, it makes all the difference.
Step 3: Choose & Apply Primer
The Essential Etching Primer
Don’t skip the self-etching primer when you’re working with aluminium, it’s a must, not just a suggestion. This stuff actually bonds to the metal, giving your paint something solid to grip. Plus, it gets rid of leftover oxidation, so you’re not painting over any gunk. Go for thin, even coats. Seriously, several light layers beat one heavy coat every time. Let each coat dry for 5 to 15 minutes. Check the label for specifics, but three or four coats usually do the trick. Once it’s dry (that takes about an hour, sometimes a bit longer), grab some 400-grit sandpaper and gently smooth things out. Wipe away the dust with a clean cloth. Pros always say it: don’t skimp on primer. It’s what really makes paint stick to aluminium. And if you pick a good primer, your paint job lasts way longer.
Step 4: Select the Right Paint
Choosing Paint for Aluminium Success
Picking the right paint makes all the difference if you want your aluminium paint job to last. Acrylic latex goes on easily, dries fast, and you can find it almost anywhere, so it’s a solid choice for most DIY projects. Epoxy paint holds up better if you’re tackling something outside, since it’s tougher. Then there’s direct-to-metal (DTM) paint, which actually sticks to metal because it’s made for it and has built-in adhesion boosters. If it’s not meant for aluminium, it won’t stick well, and you’ll end up with a mess. Matte or satin finishes are smart if you’re trying to hide little dings or scratches; gloss just highlights every flaw. And if you’re painting something that’s going to live outdoors, make sure the paint is exterior-grade and has UV protection, or it’ll fade and peel faster than you think. One pro tip: If you use quality paint and keep up with maintenance, your finish on aluminium should look good for at least five to seven years, sometimes even longer.
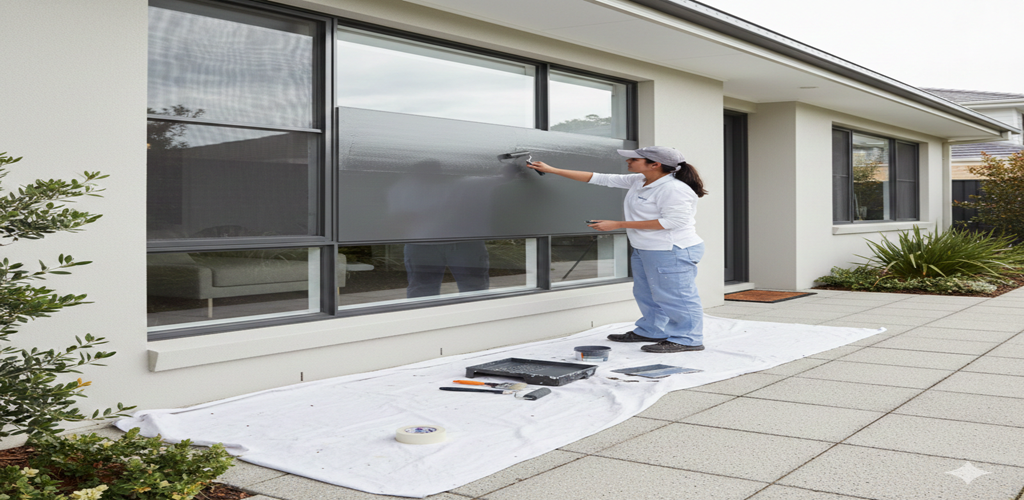
Step 5: Paint Application
Applying Paint Successfully
Once you’ve finished prepping the aluminium, you’re ready to paint. Give the paint a good stir; don’t skip this part. Go for thin, even coats instead of slapping on one thick layer. Light, repeated coats really hold up better over time. After that, grab a roller or sprayer for the bigger spots. Work with overlapping strokes and keep a wet edge, so you don’t end up with streaks or obvious lines. Let each coat dry for at least 2 to 4 hours before you move to the next one. Most of the time, two coats get the job done. Sometimes, if you’re using a deep or bold colour, you’ll need a third. Steer clear of painting if it’s too hot, too cold, or crazy humid; those conditions can ruin your finish. When it comes down to it, pros agree: steady, light pressure and multiple thin coats give you that smooth, tough finish you want. Follow these steps, and your aluminium paint job will look sharp and last.
Pro Tips for Success
Expert Tricks for Perfect Results
Painting aluminium isn’t complicated, but the details matter. You want the temperature between 15 and 25°C, low humidity, and no rain on the horizon. Lay down drop cloths, tape off anything you don’t want painted, and you’re good to go. Keep your brushes and rollers clean; either wash them between sections or stick them in a plastic bag. Don’t rush. Too much on your brush or roller? That’s how you get drips and streaks. Use a light touch at the edges to blend everything, and if you spot a drip, wipe it fast before it dries. Once you’re done, give the last coat at least 24 hours to cure. These little steps keep your paint job looking sharp and help the finish last. The pros know: it’s the small stuff that separates a good job from a mess.
Common Mistakes to Avoid
If you’re painting aluminium, don’t rush it. People screw up all the time by skipping the cleaning or sanding. Honestly, if you don’t prep the surface, the paint just slides right off. Another classic mistake? Grabbing any old primer or painting straight onto bare aluminium. You need a self-etching primer, or the paint will peel before you know it. That just wrecks everything. And yeah, I get being impatient, but rushing between coats is a recipe for disaster. Pros will tell you that most problems come from trying to cut corners in the beginning. Take your time prepping. It’s a pain now, but it saves you from having to start all over again. Do it right, and you’ll actually get that smooth, tough finish you want.
Conclusion
You can paint aluminium surfaces if you prep them right. Start by cleaning and sanding the metal; don’t skip this part, it’s what makes everything stick. Use a self-etching primer made for aluminium, then add your paint. That’s how you get a solid, lasting finish. If you’re new to this, it might take a while, but you’ll get faster and better with practice. A well-painted aluminium surface really changes the look of a space and holds up for years. With a little patience, some attention to detail, and the right products, you can pull off a great-looking, durable result.